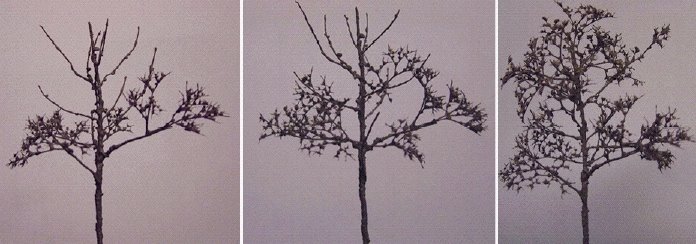
First choose your tree. It's much easier to model something (anything) when you know what it looks like, and trees come in many designs. Below are a few examples, and I doubt if the same method could be used to model them all. The following method would probably only work for the 2 middle trees here (lower left one at a pinch) as it tends to produce fan-shaped clumps of foliage. (Warning: this method needs patience to get the best results - do several trees at once to make it worthwhile)

I want something like the central trees here - a bit straggly and shapeless compared to the tree on the right. This photo was taken at Shipston-on-Stour in July 2000. The only pictures I have of Shipston in the 1930's are black & white - a colour picture is so much better for work like this.

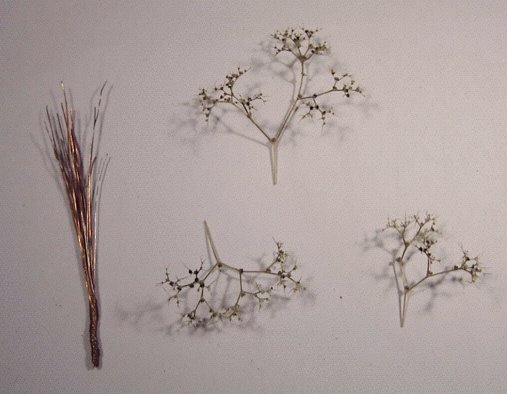
The basic structure is made from strands of copper wire twisted together. Sea moss will be attached to give the impression of finer branches.
Before assembling these are coated with Flexi-bark. This is a finely-textured paint which will still allow the branches to be bent.

It needs to be blended with water colours to give the required colour. I'm using browns and a dark grey.

The wire is bent to an approximate shape and everything painted. You can see how the paint gives the bark an irregular finish.
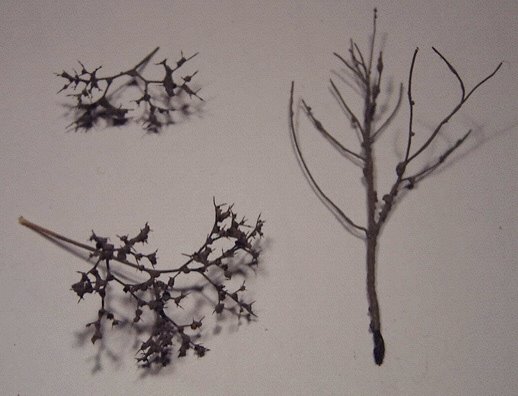
Now to create the shape of the tree. The moss is attached to each branch with a dab of superglue. Excess branches can be snipped off and glued elsewhere until it looks right. At this point it's a fair representation of a tree without leaves, although without enough of the small branches and twigs that most trees have.
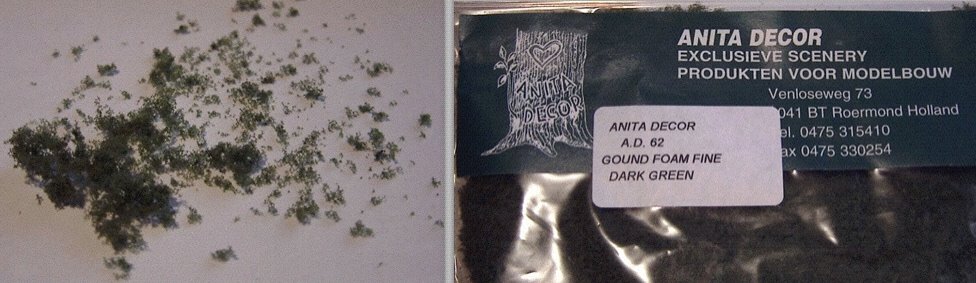
But I want a summer scene, so I need material for the leaves. Anita Decor isn't the cheapest scenic material, but it can be teased out to very fine strands, so should be good for forming delicate foliage over the branches. I'm hoping this one will capture the colour I want, having tested it on a left-over branch first.
Mix a small clump with some dilute PVA and a drop of washing-up liquid, and start to apply small amounts to the branches. I use fine tweezers, and only do a small amount at a time, allowing it to dry before continuing. This can take quite a while, depending on how meticulous you want to be.

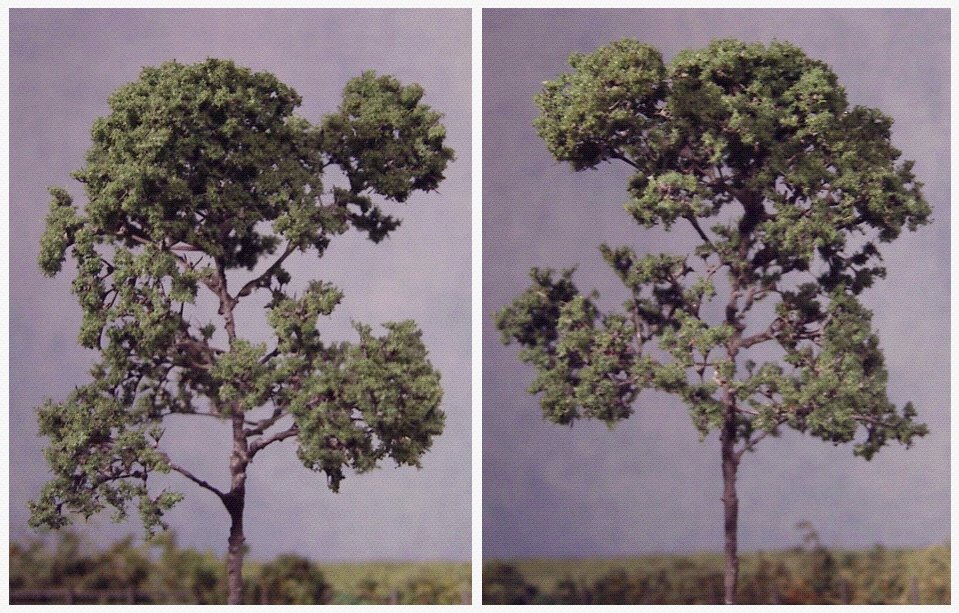
Compare with the target picture regularly. I've added a couple of extra branches as I want the crown to be fuller. Probably still a bit more to do in that area.

Getting close now. Still need to thicken the foliage on the crown, leaving the central area slightly bare like the Shipston trees.

I've overdone the foliage before now. Think this is about right.